The Return of OSR: A SitecoreAI Proof of Concept
Welcome back to another blogpost. This time I want to demonstrate a PoC I have been working on lately to bring On-demand Revalidation back to Sitecore AI. As some of you might remember it was once
Welcome back to another blogpost. This time I want to demonstrate a PoC I have been working on lately to bring On-demand Revalidation back to Sitecore AI. As some of you might remember it was once there, but due to changes in publishing it was significantly harder to properly implement it.
I am demonstrating how latest Sitecore inventions like Content SDK and App Router help us to drastically reduce the effort by getting all the great advantages back. See more details in the following chapters
The history of OSR
On‑Demand Static Regeneration (OSR) sounds simple. Content changes, the frontend gets a signal, and the affected pages are re‑rendered. In a CMS‑driven setup like Sitecore, that signal comes from publishing and webhooks. And that’s exactly where the story starts to get complicated.
With the early Snapshot‑based publishing model, things were actually in a good place. Publishing events provided paths of affected content. Not only the item that changed, but also related pages and dependencies. From an OSR point of view, this was close to ideal. The frontend knew exactly which routes were impacted and could revalidate only what was needed. OSR was easy to reason about and fairly easy to implement.
The first big change happened when publishing payloads moved from paths to IDs. Instead of being told which pages to revalidate, consumers were told which items changed. That might look like a small technical detail, but for OSR it was a big step backwards. IDs mean nothing at the routing level. Suddenly the frontend had to map IDs to pages, resolve relationships, and figure out dependencies on its own. OSR was still possible, but no longer straightforward. A lot of logic moved from the platform to the consumer.
With Edge Runtime Publishing (in officially called Publishing v2), the signal got even smaller. Publishing events now only describe what has changed, without resolved paths, affected pages, or dependency information. From a platform perspective, this makes sense. It scales better and keeps publishing fast. But from an OSR perspective, this removes the most important piece of information: knowing the blast radius of a content change. At this point, implementing OSR becomes genuinely hard.
The frontend is left guessing. Either you revalidate aggressively and regenerate too much, which hurts performance and cost, or you revalidate conservatively and risk serving stale content. On top of that, this approach can quickly run into Edge request limits, for example the 80 requests per second limit. If many items change at once, naïvely resolving dependencies or triggering revalidations can overwhelm the Edge. To make this work reliably, you suddenly need intelligent queuing, batching, and retry mechanisms just to stay within limits and avoid partial or failed updates.
What used to be a clean publish‑and‑revalidate flow is now a system design challenge. Dependency resolution is no longer part of publishing. It is fully pushed to the consumer. And that’s where we are today.
OSR is still the right idea. Static performance with immediate updates is exactly what modern, CMS‑driven applications want. But the publishing signals it depends on have changed. Without route‑level or dependency‑aware information, OSR is no longer a natural fit. It is still possible, but it requires additional logic, additional infrastructure, and careful trade‑offs.
SSG/ISR/OSR/SSR – A brief explanation
With SSG, pages are rendered once, ahead of time, during a build process. At that moment, the system fetches all required data, generates HTML, and writes it to disk. After that, the page is no longer connected to its data source. From that point on:
- The HTML is treated as a static asset
- Requests do not trigger any rendering logic
- The page does not know if content has changed
A content update does nothing until a new build is triggered. The page is effectively frozen in time. SSG is therefore best understood as “render first, serve forever” until the next build.
Static Site Generation (SSG)
With SSG, a page is rendered once during the build. At that moment, data is fetched, HTML is generated, and the result is stored as a static file. After deployment, this page is simply served to users as‑is. No rendering happens when a request comes in. This approach is extremely fast and very reliable. Because nothing runs at request time, pages are easy to cache, scale well, and are cheap to operate. Once deployed, there is very little that can fail.
The downside is that the page is disconnected from its data. If content changes, the page does not know about it. A rebuild and redeploy are required to reflect updates. This makes SSG a poor fit for frequently changing content, editor‑driven workflows, or anything that needs to update quickly.
SSG works best when content is stable and performance is the top priority.
Incremental Static Regeneration (ISR)
ISR keeps the idea of static pages but relaxes the “render once” rule. Pages are still generated as static HTML, but they are no longer permanent. Instead, each page has a limited lifetime. After a certain amount of time passes, the system is allowed to regenerate the page. Until that happens, users may continue to see outdated content. This is intentional.
The benefit of ISR is that it avoids full rebuilds while keeping most of the performance advantages of static pages. Only the pages that actually need updates are regenerated, and only when they are accessed.
The trade‑off is predictability. Content updates are not immediate, and editors cannot control exactly when changes become visible. There is always a short window where content may be stale. Developers also need to think about timing, caching, and consistency, which adds complexity compared to pure SSG.
ISR is a good choice when content changes regularly but does not need to be updated instantly.
On‑Demand Static Regeneration (OSR)
OSR changes one important thing: what triggers regeneration.
Pages are still rendered as static HTML, and they are still served statically most of the time. The difference is that regeneration happens when an explicit event occurs, such as publishing content. Instead of waiting for time to pass, an external system tells the renderer that something has changed and that a page must be regenerated now. This aligns rendering directly with content lifecycle events. The big advantage is that OSR gives you static performance and immediate updates. Editors can publish content and see changes right away, without switching to server‑side rendering. Pages remain cacheable and fast.
The cost is integration and coordination. OSR requires reliable triggers and error handling. If a trigger fails or is missed, content can remain outdated. Compared to ISR, there are more moving parts, but compared to SSR, runtime complexity stays low.
OSR works best when content changes are explicit and controlled, such as in CMS publishing workflows.
Server‑Side Rendering (SSR)
With SSR, pages are rendered for every request. There is no pre‑generated HTML that represents the page ahead of time. Each request fetches data, renders HTML, and sends the response. This guarantees that content is always up to date. SSR is well suited for personalization, authentication‑based content, or data that changes constantly. The mental model is simple: request in, response out.
The downside is runtime cost. Every request consumes server resources, which impacts performance and scalability. Under load, SSR can become slow or expensive if not carefully optimized. Compared to static approaches, SSR usually delivers worse performance and requires more infrastructure.
SSR is the right choice when freshness and flexibility matter more than raw speed.
Getting back the best out of two worlds – The idea and implementation
With what we discussed above the logical question is, how we can bring back on-demand revalidation so that we get back the best out of two worlds.
This PoC focuses on giving an answer to this based on Next.js App Router. App Router in the currently used Next Version 15 already offers a great capability called Tag Based Revalidation. By using Tag Based Revalidation we are able to bring together the information of Page with all its used Data source Items / Renderings. This way, it does not matter if the page updates and sends its ID; or any of its Data sources updates and sends its ID, we are able to revalidate all the pages which are affected.
How does this work?
Let me give you first the officially AI generated high level description of it. And then we deep dive into our case and how exactly we leverage it.
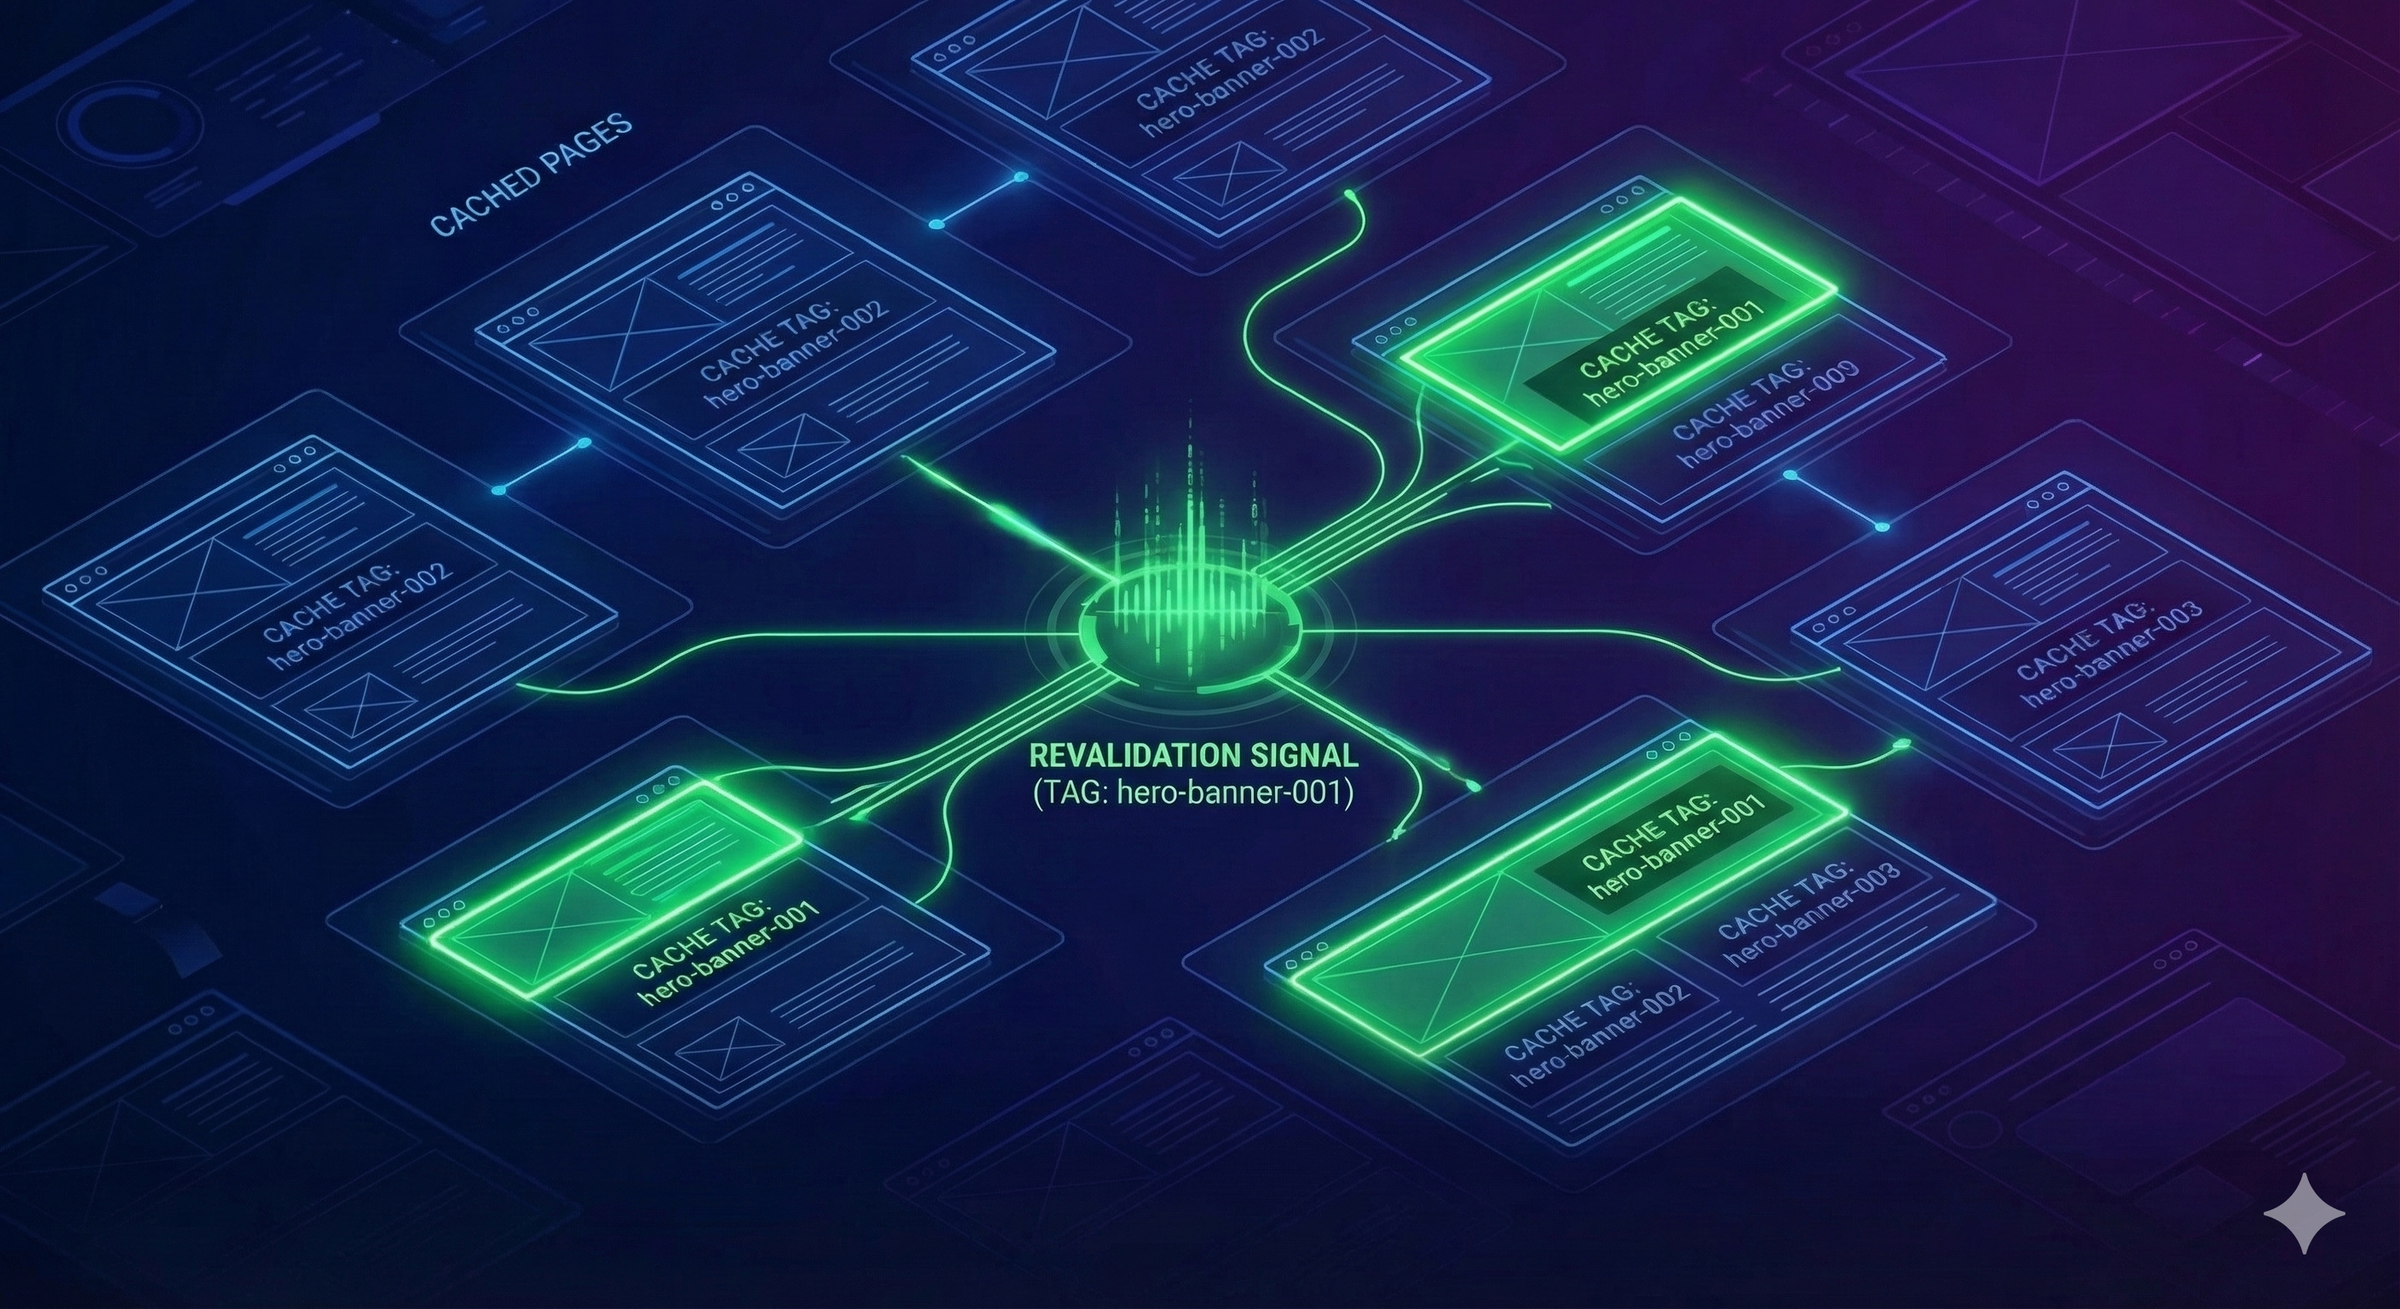
Next.js App Router tag-based revalidation is a data-level cache invalidation mechanism where cached fetch calls are labeled with tags and selectively refreshed on demand. When a tag is revalidated, all cached data associated with that tag is marked stale and transparently refreshed the next time it’s requested—without rebuilding entire pages—enabling precise, fast updates for shared or frequently changing data.
Cool, so tag based revalidation allows us to tag specific functions / fetch calls to better revalidate those on the other side. In our very specific case we want to reestablish the connection between a page and all its used data source items, so that when either way the page or a data source item on the page changes, we can easily invalidate all the affected pages. Note: In our case today we use Tag Based Revalidation purely for enhancing SSG with OSR. Thinking even further and looking into the future of Next 16 for instance we can do even more with things like Cached Components. But more once we are there 😉
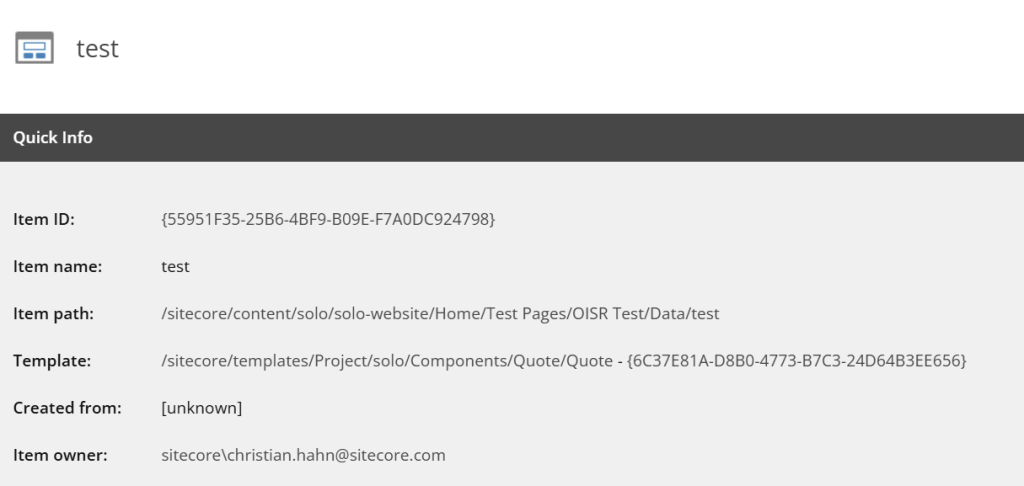
Let us be more specific and take 2 examples from my Demo site.

This is the demo site I am also showing later. It basically consists Header / Footer and Quote Module. For our case I am not interested into Header and Footer so I skip those for now. The Tag Based Revalidation representation of this page then is the following

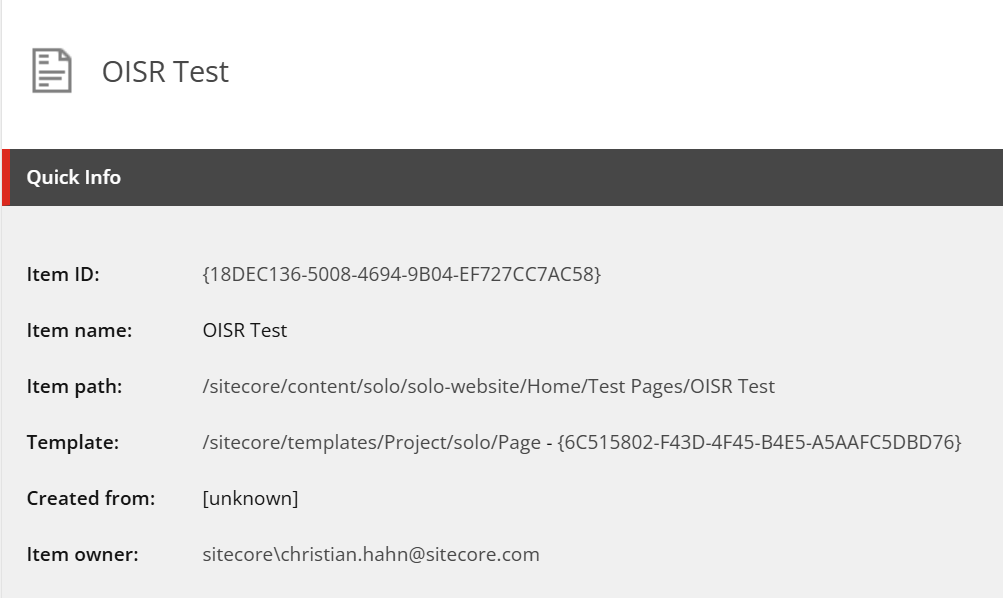
Here is also an example of how my Home Page looks like as tags using this logic. As it consists of more components, we just store more IDs as tags on the fetch. Theoretically you can save as many tags as you want, which would even support then pretty complex pages.
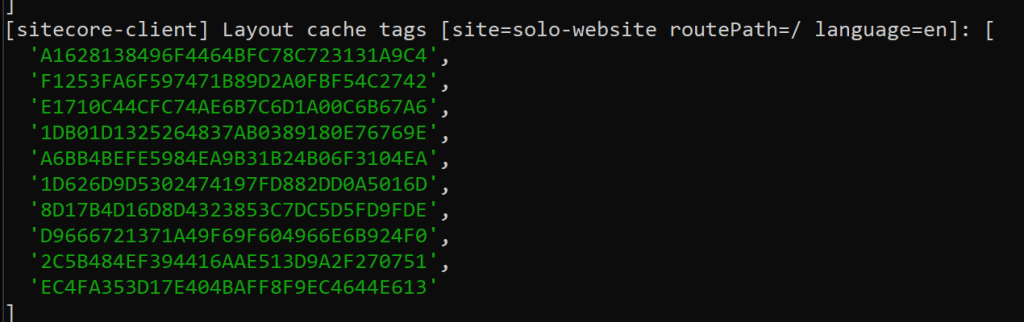
As you can see when I call the site the first time it processes the request, extracts the component data sources, in my case quote module and adds the page item id itself to the list as well. This is then stored as tags onto the fetch call to grab the layout data of that page. Next time I call the page, it does not process anything anymore as Next.js understands and tracks the cached data and knows it is still valid.
The only two ways to invalidate now is to let the timer expire, in my case 10 min OR to use revalidateTag method with the proper tag. This way next.js would invalidate all caches connected with this tag.
Now one step deeper: Let us look into the actual implementation.
const client = new SitecoreClient({
  ...scConfig,
  custom: {
    layoutService: new MyLayoutService({
      clientFactory: createGraphQLClientFactory({
        api: scConfig.api,
        retries: scConfig.retries.count,
        retryStrategy: scConfig.retries.retryStrategy,
      }),
    }),
  },
});First of all the place where we can easily hook in nowadays to customize all kind of Sitecore interactions: Our beloved SitecoreClient. What happens when the page is loaded is, that client.getPage(…) is called, which under the hood executes layout services, which executes under the hood basically just GraphQL queries. The easiest to hook in is to define your own LayoutService, as you can see above. This way we can keep most of the existing logic untouched, but sprinkle in our needed extension exactly where they are needed.
Below you see the full code of the new Custom LayoutService. What we are basically doing in there is to override how the fetch call is executed to add our Tags.
class MyLayoutService extends LayoutService {
  /**
   * Gets a GraphQL client that can make requests to the API.
   * First fetch (no-cache) extracts layout item IDs from the response.
   * Second fetch (force-cache) caches with tags: ['layout', ...extractedIds]
   * so revalidateTag(id) from webhooks invalidates the correct cache.
   */
  protected getGraphQLClient() {
    return this.serviceConfig.clientFactory({
      debugger: this.serviceConfig.debugger,
      retries: this.serviceConfig.retries?.count,
      retryStrategy: this.serviceConfig.retries?.retryStrategy,
      fetch: async (url, options) => {
        const firstResponse = await fetch(url, {
          ...options,
        });
        let tags = [] as string[];
        try {
          const cloned = firstResponse.clone();
          const data = await cloned.json();
          const ids = extractLayoutItemIdsArray(data);
          if (ids.length > 0) {
            tags = [...ids];
          }
        } catch {
          // Fallback to layout-only tag if parse fails
        }
        const { site, routePath, language } = extractLayoutParamsFromBody(
          options?.body,
        );
        const ctx = {
          site: site ?? "(unknown)",
          routePath: routePath ?? "(unknown)",
          language: language ?? "(unknown)",
        };
        console.log(
          `[sitecore-client] Layout cache tags [site=${ctx.site} routePath=${ctx.routePath} language=${ctx.language}]:`,
          tags,
        );
        return fetch(url, {
          ...options,
          cache: "force-cache" as RequestCache,
          next: { tags, revalidate: 600 },
        });
      },
    });
  }
}When you ignore the logging in there it is basically
- Fetch Layout Service
- Extract the ItemIDs
- Execute Fetch again with the ItemID list as Tags
Some of you might ask now: Why do we need to execute two fetches here? This does not make any sense! And you are right. From a technical pov it feels wrong and duplicated. But following problem happens:
To be able to add tags to a fetch call, we need the tag list at the time of the request. But to get the list of the tags we need to execute the fetch. A typical chicken and egg problem. The solution is stupidly simple. You have to execute two fetches. One to get the tags and one to add them. The good news is next.js is smart enough to understand and caches properly the fetch calls. From from a DevEx POV this does not feel right. Let us just accept for now that in this context with Next 15, App Router and Sitecore there is no other way to achieve the same results. The good news is: Next 16 makes it much better and easier. But more to that solution later.
Ok, now the next step. We successfully cached our layout fetch call. Now we need to revalidate it whenever a content author publishes new content. This approach did not change, from how we are doing it already from Day 1.
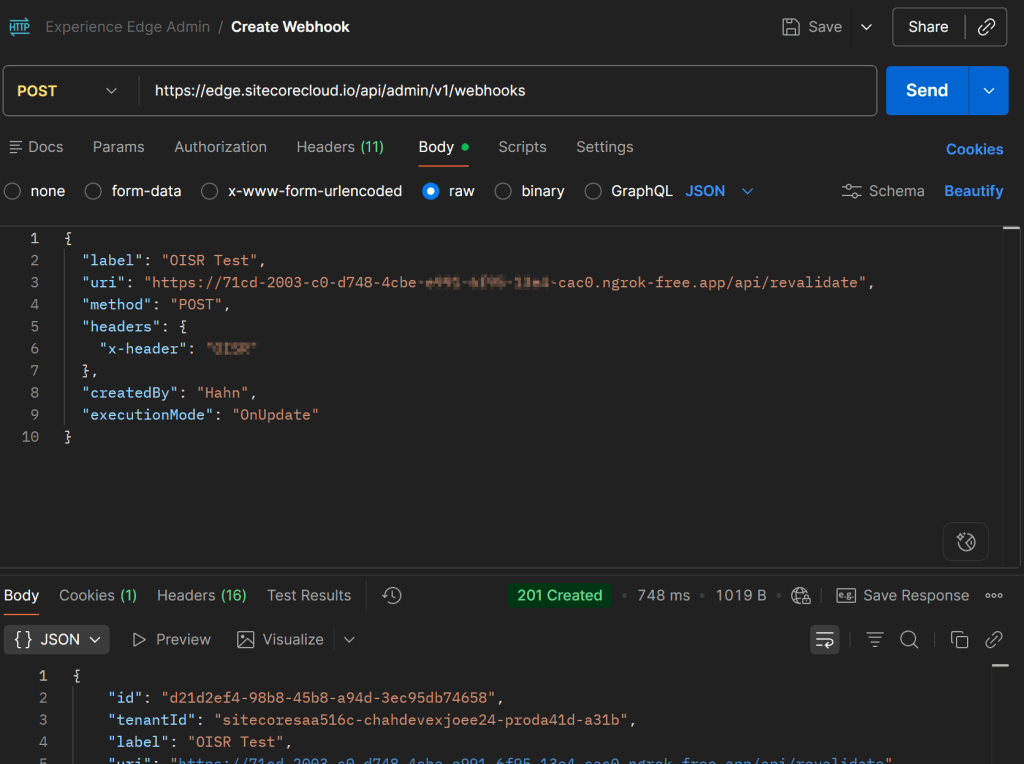
- Create a Webhook via Edge Admin API
- Add a new revalidate route in Next.JS, which acts as Endpoint
- Revalidate based on the given Webhook Information
Create a Webhook via Edge Admin API: Based on the given documentation (https://doc.sitecore.com/xp/en/developers/hd/latest/sitecore-headless-development/admin-api.html) it is pretty simple to use the API to create a new Webhook, which points to your next app. In my case I added a little Ngrok tunnel to be able to get those calls also at localhost (https://ngrok.com/)
Add a new revalidate route in Next.JS, which acts as Endpoint: In App Router it is pretty simple to create such a new endpoint. If we for instance need one under /api/revalidate we simply create a folder and file structure like this
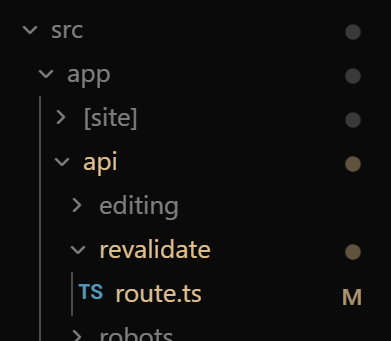
Revalidate based on the given Webhook Information: ****Now that we have a proper Webhook we can create a new file under src/app/api/revalidate/route.ts. Let me paste in the idea of this route as it is fairly simple
import { revalidateTag } from 'next/cache';
import type { NextRequest } from 'next/server';
/**
 * Request body shape from Sitecore webhooks / Content Operations.
 * The identifier format can be "{ID}", "{ID}-media", or "{ID}-layout".
 */
interface RevalidateUpdate {
  identifier: string;
  entity_definition: string;
  operation: string;
  entity_culture: string;
}
interface RevalidateBody {
  invocation_id?: string;
  updates?: RevalidateUpdate[];
  continues?: boolean;
  /** Optional: manual tags to revalidate (e.g. ["page-solo-website-en-home"]) */
  tags?: string[];
}
/**
 * Extracts the base Sitecore item ID from an identifier.
 * Handles formats: "{ID}", "{ID}-media", "{ID}-layout"
 *
 * @param identifier - Full identifier (e.g. "71B0BA0716214254AEE4429B1A970C8B-media")
 * @returns Base ID without suffix (e.g. "71B0BA0716214254AEE4429B1A970C8B")
 */
function extractContentId(identifier: string): string {
  if (!identifier || typeof identifier !== 'string') return '';
  const trimmed = identifier.trim();
  // Strip -media or -layout suffix
  return trimmed.replace(/-(?:media|layout)$/i, '');
}
const LOG_PREFIX = '[revalidate]';
export async function POST(request: NextRequest) {
  try {
    const secret = process.env.REVALIDATION_SECRET;
    const hasAuth = Boolean(secret);
    const hasHeader = request.headers.has('x-header');
    console.log(`${LOG_PREFIX} POST received | auth configured: ${hasAuth} | x-header present: ${hasHeader}`);
    // Optional: verify revalidation secret via x-header
    if (secret) {
      const headerSecret = request.headers.get('x-header');
      if (headerSecret !== secret) {
        console.warn(`${LOG_PREFIX} Auth failed | x-header mismatch or missing`);
        return Response.json(
          { error: 'Unauthorized', message: 'Invalid or missing x-header' },
          { status: 401 }
        );
      }
      console.log(`${LOG_PREFIX} Auth OK`);
    }
    let body: RevalidateBody;
    try {
      body = await request.json();
    } catch (e) {
      console.warn(`${LOG_PREFIX} Invalid JSON body:`, e);
      return Response.json(
        { error: 'Bad Request', message: 'Invalid JSON body' },
        { status: 400 }
      );
    }
    const updates = body?.updates ?? [];
    const manualTags = Array.isArray(body?.tags) ? body.tags : [];
    const contentIds = new Set<string>(manualTags);
    for (const u of updates) {
      const id = extractContentId(u?.identifier ?? '');
      if (id) contentIds.add(id);
    }
    if (contentIds.size === 0) {
      console.warn(`${LOG_PREFIX} Bad request | no tags to revalidate`);
      return Response.json(
        { error: 'Bad Request', message: 'Provide "updates" (webhook) or "tags" (manual)' },
        { status: 400 }
      );
    }
    const tags = Array.from(contentIds);
    console.log(
      `${LOG_PREFIX} Processing | invocation_id: ${body.invocation_id ?? '(none)'} | updates: ${updates.length} | unique tags: ${tags.length} | tags: [${tags.join(', ')}]`
    );
    for (const tag of tags) {
      revalidateTag(tag);
      console.log(`${LOG_PREFIX} Revalidated tag: "${tag}"`);
    }
    const response = {
      revalidated: true,
      invocation_id: body.invocation_id ?? null,
      tags,
      count: contentIds.size,
      continues: body.continues ?? false,
      now: Date.now(),
    };
    console.log(`${LOG_PREFIX} Success | revalidated ${tags.length} tag(s)`);
    return Response.json(response);
  } catch (error) {
    console.error(`${LOG_PREFIX} Error:`, error);
    return Response.json(
      {
        error: 'Internal Server Error',
        message: error instanceof Error ? error.message : 'Unknown error',
      },
      { status: 500 }
    );
  }
}Few notes on the code above. When you remove logging, security and all the nice to have it is basically getting the body, mapping it to a strongly typed data model and extracting the given IDs from it. For each ID it simply calls revalidateTag(tag); And thats it. By doing this all the fetch calls, which had this tag added are now invalidated.
Note: Some testing revealed also a difference between Pages and App Router. If you use RevalidatePath for instance on Pages Router, it seems it really executes revalidation as with increasing number of calls it takes more time. But in App Router it did not really matter how many pages were revalidated the needed time to process everything was always pretty low. (Thanks to Stanislav for finding thing out) This basically means that in App Router we might not even need a fancy queue mechanism to save ids and execute the revalidation afterwards, but do everything in one place.
Why to I mention it?
When dealing with Experience Edge Webhooks, there is a timespan (30 secs) in which the endpoint has to respond back with a status, so that Experience Edge knows everything is fine. In case no response comes back in time for a number of 10 subsequent calls, Experience Edge will disable the Webhook. To avoid this you have to extract long running tasks and execute somewhere else and let the endpoint response as soon as possible.
See everything live and in action
Now after you have seen all the history, changes and needed steps to bring it back, I think you also want to really see it live and in action. No problem… here we are. And even as comparison between all the different rendering methods demonstrating nicely their very own pros and cons.
The screencast walks you though the test scenario. It basically explains all the three cases represented as different instances OSR (Localhost) , SSG / ISR (Red Vercel Site) and SSR (Purple Vercel Site)
based and how all these instances react to content changes. The outcome is exactly what you would expect and what we discussed upfront.
SSG/ISR is faster than SSR as it aggressively caches the pages. In my scenario it was around 30% faster on each request. But it came with the drawback of not having up-to-data content. We need to x minutes till it gets refreshed. Whereas SSR is immediately updated, but significantly slower.
The localhost instance combines both perfectly fine. It caches via SSG and revalidates properly, once Experience Edge sent the webhook with the changed items. We can even see, that we don’t even need to send the actual page anymore. It is enough to just send the data source items, which have been changed. In this case it was the quote module. Though tags on the fetch we are able to basically track the dependencies on our own and revalidate properly.
Is there a better solution available?
If I already ask like this we can be sure there is. Or better speaking there will be. Let me start with the current widely spreaded version Next 15. The only production ready approach to achieve what we need is to go over two fetch calls. Technically fine, DevEx wise difficult. There is already an experimental / unstable feature in Next 15, which lets you see a better approach.
The idea is, that a custom function is marked with “use cache” and that you can add the needed tags at any time in this function. This allows us to actually execute the underlying fetch, extract the IDs and add them properly as cache tags.
import "server-only";
import { unstable_cacheTag } from "next/cache";
import client from "src/lib/sitecore-client";
import { extractLayoutItemIdsArray } from "src/lib/layout-utils";
const CACHED_PAGE_LOG_PREFIX = "[sitecore-client:getCachedPage]";
/**
 * Cached page fetch with response-derived cache tags.
 *
 * Keep this helper in a server-only module so client components can continue
 * importing `src/lib/sitecore-client` without pulling in cache component APIs.
 *
 * Next.js 16 note:
 * - Replace `unstable_cacheTag` with `cacheTag` from `next/cache`.
 * - Keep the same "use cache" placement and tagging loop.
 *
 * @param path - Route path segments.
 * @param site - Site name.
 * @param locale - Locale code.
 * @returns Page data from Sitecore.
 */
export async function getCachedPage(path: string[], site: string, locale: string) {
  "use cache";
  const page = await client.getPage(path, { site, locale });
  const tags = extractLayoutItemIdsArray(page?.layout);
  for (const tag of tags) {
    unstable_cacheTag(tag);
  }
  console.log(
    `${CACHED_PAGE_LOG_PREFIX} unstable tags added total=${tags.length} tags=[${tags.join(", ")}]`,
  );
  return page;
}And now you would simple replace the getPage(…) calls with getCachedPage(…) and bascially get the same result.
Note: This is just a pov implementation of how the code could look like in the future. Of course you would like to integrate it nicely into the SitecoreClient for instance by extending it with this custom. getCachedPage function.
Note2: Keep in mind this is using experimental, unstable code and should not be placed in production. But it nicely demonstrate the future. This approach will be the way moving forward in Next 16 as you can already see in the comments. So with the upcoming release of Content SDK 2.0 which fully supports Next 16 I will also provide a fully working code example to get rid of the two fetch calls and use “use cache” together with cacheTag(…)
Conclusion
Bringing everything together: today we looked at the history of publishing and how it evolved over time. With Snapshot Publishing, getting OSR up and running was, and still is, fairly straightforward.
When Edge Runtime Publishing was introduced to make publishing faster, we lost an important capability: reliably tracking dependencies between pages and their underlying data sources. Webhooks now only tell us what changed, which is often a single data source item and not a page. As a result, implementing OSR suddenly became much harder.
Luckily, the Next.js App Router already offers a solution that anyone can adopt by adding just a few lines of code. The downside today is the double fetch pattern, which leads to a sub‑optimal developer experience.
Looking ahead, with Next.js 16 this becomes much more straightforward. The double fetch pattern goes away, and we can use features like the use cache directive together with cacheTag(...) to gain full control over what gets cached and which tags are applied during execution.
Stay tuned for more code snippets, examples, and approaches, this feels like the start of a new era.
- migrated